 |
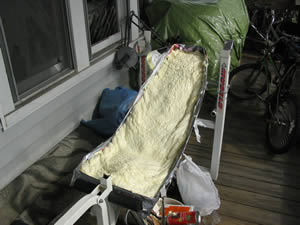
We wanted the seat to hold the rider at approximately 30 degrees
from horizontal, be comfortable for each rider, and to adjust easily for
the differences in rider leg length. We decided on a custom fiberglass seat.
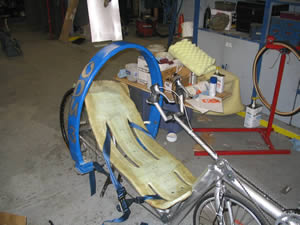
This is our attempt at a mold. We made a trough, set it on a weight bench,
and filled it with Great Stuff instant foam. After the foam began to set
we sat in the trough to try to shape the mold to our backs. The idea wasn't
completely successful and only produced some suitable contours. |
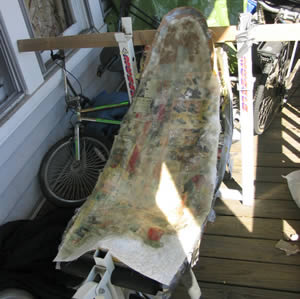
| After the foam was completely set, we covered it with the
funny papers to smooth out the wrinkles. Then we laid a couple of layers
of woven fiberglass cloth on the top. The fiberglass materials came from
Eastern Burlap & Trading Co.
They help quite a few of the school's projects and are experts in composites
for boat building. After the glass cured we trimmed it to the approximate
shape. |
 |
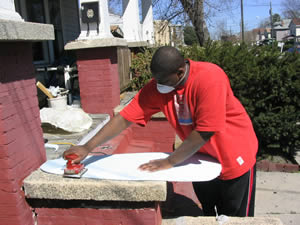 |
Derrell shapes the foam core for the seat. We wanted the seat
to be rigid so it could actually act as a member of the frame. The foam
core gave the seat a shell like shape which added much more strength than
a non-hollow shape. |
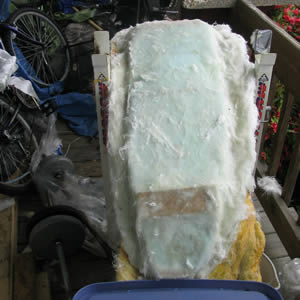
| The core was glassed in with chopped mat along with two wooden
blocks to use for mounting the seat brackets. |
 |
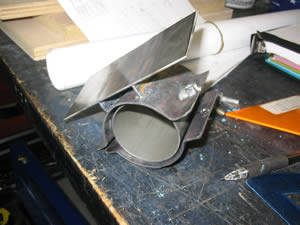 |
The seat bracket was designed to slide along the lower frame
tube to allow for adjustment for different size riders. We couldn't find
anything suitable for purchase so we formed a clamp of slightly larger diameter
than our frame tubing. The clamp ended up being quite heavy, almost a pound.
Two screws were used to tighten and loosen the clamp. |
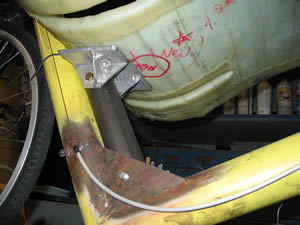
| The lower seat bracket attached to the frame and the seat.
We used gasket rubber in-between the frame tube and the clamp to keep the
frame from being damaged and to keep the bracket from sliding. |
 |
 |
The upper seat bracket mounted directly to the aluminum seat
stays. We used the pannier rack threaded holes on the dropouts to connect
the seat stays to the frame. The seat adjustment didn't work quite as planned.
It took a long time to adjust and the seat stays' lengths would have had
to be adjustable to allow the seat to slide forward and backwards. |
| After riding with the first seat for a while, we decided to
redesign it to be more comfortable, lighter, and easier to adjust. We started
by making a much better mold so we could fit the curve of the human back. |
 |
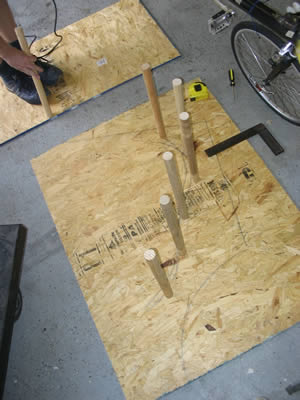 |
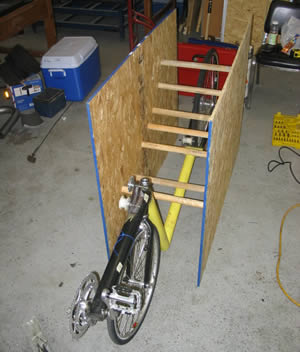
We took a sheet of OSB and laid sideways on it to trace a
preliminary sketch of our backs. After that we secured wooden dowel rods
to the sheet along the line. This would form a seat that we could place
on the bicycle frame and adjust until a suitable seat shape was reached
for the riders. |
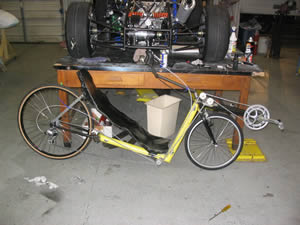
| The seat mockup was placed on the frame and we used a piece
of sheet metal as the seat back. We adjusted each of the dowel rods until
the seat felt comfortable for everyone. We then recorded the dimensions
of the seat and transferred it to the computer model of the vehicle. |
 |
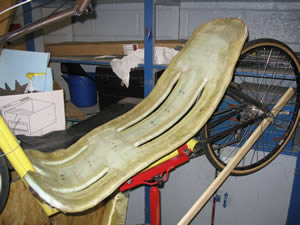 |
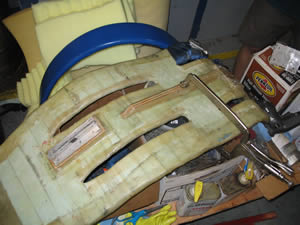
The seat mockup was also used as the mold for the fiberglass
seat. The lay-up was quite similar to the first seat, only less fiberglass
was used. We tried to get away with two layers on a foam core and reinforcement
on the edges. The slots removed material but added strength, once their
edges were reinforced. They also added breathe-ability and seat belt access. |
| The new seat required a better upper support than the previous
aluminum seat stays. We added a rear triangle to the frame to mount the
seat. This addition also provided a mounting area for a rear brake, unlike
the previous design. |
 |
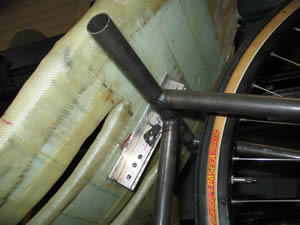 |
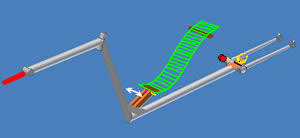
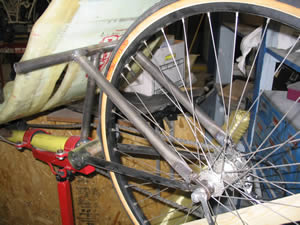
The seat adjustment was redesigned and the sliding lower seat
bracket was thrown out. The new seat mounting/adjustment mechanism involved
a rotating lower mount and a pinned upper mount. The upper mount is shown.
A quick release pin was used to select the proper hole for each rider. |
| The lower mount attached to the idler shaft and rotated. This
effectively changes the position of the seat to accommodate different size
riders. |
 |
 |
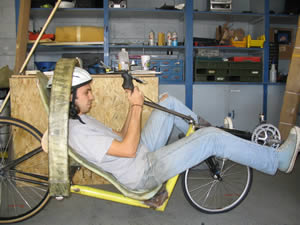
Brianne is in the maximum forward position for the shorter
riders. The only downside to this seat adjustment is the fact at that the
seat angle changes when the seat is rotated about the lower mount. This
put the shorter riders at a much more laid back position that we really
wanted. |
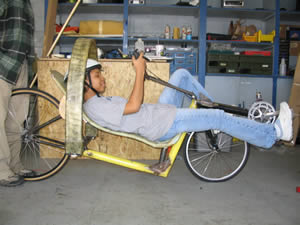
| Jason is now in the maximum rearward position for the taller
riders. The seat angle is closer to the design specs. The CG of the rider
and bike are lower than the previous position, thus slightly decreasing
the control the rider can exert with his or her body. |
 |
 |
Once again wooden blocks were glassed in for the seat mount
attachments. An additional wooden spine was added to keep the seat from
flexing. |
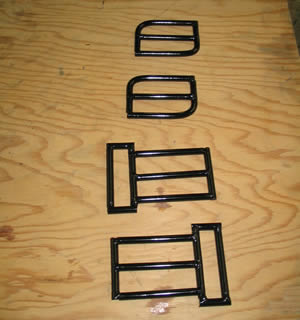
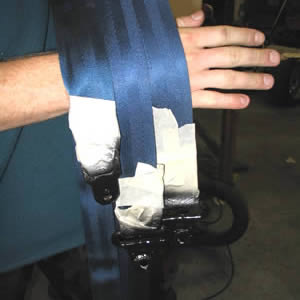
| An automotive quality seat belt is required for the competition.
We took the seat belts from a junked pickup truck and sliced them up to
make our own four point harness. The custom buckles are shown to the right.
They were made from some scrap 1/4" steel rod. We were even able to
use the GM lap buckle. |
 |
 |
The seat belt mounts from the car were able to be reused with
some slight modifications. Washers were welded onto the ends to better suit
the smaller size bolts used on the bicycle. |
| The final seat and harness is shown. The two upper harness
mounts attached to the seat stays and the lower harness mounts were fixed
to the lower seat bracket. |
 |